
If you have a Premium Plus subscription, you can choose how you pay your non-alcohol vendors and/or invoices by location. Schedule a payment via ACH or by check (managed for you by Fintech), or pay vendors outside of Fintech. You can also set limits on how much to pay a particular vendor.
Learn more about paying vendors here: Banking FAQ.
⚠️ If your vendor submits invoices with both alcohol and non-alcohol products, payments will be made automatically from your selected bank account. Learn how to modify your payment preferences per vendor here: Changing bank account per vendor.
Payment Types
ACH Payments
Your company will need to work with vendors directly when setting up ACH payments. Payments are usually paid 24-36 hours (depending on your bank’s ACH policies).
As noted above, the following information is required from the vendor:
- Routing number
- Bank name
- Bank account information
- A vendor contact (name, phone, and email).
⚠️ Be sure to doublecheck all credentials before paying on an invoice. This is a direct connection between your company and the vendor, and therefore Fintech does not manage these payments.
💡 We recommend testing this connection with a small amount to ensure a proper connection. Once you submit the credentials, they cannot be edited. To change, you will need to re-enter the credentials.
Check Payments
If you opt to pay by check, Fintech will manage the process for you. Fintech will:
- Deduct the amount you choose from your bank.
- Generate the check. The check will indicate it is generated by Fintech on behalf of your company.
- Mail the check to your vendor.
Add the vendor address (where the check should be mailed). If this is the same as the address on the invoice, just toggle on Same as Vendor Address.
The return address should have been added under Settings > Payment Management. This is where checks return when they can’t be delivered.
Providing a vendor contact is optional but recommended.
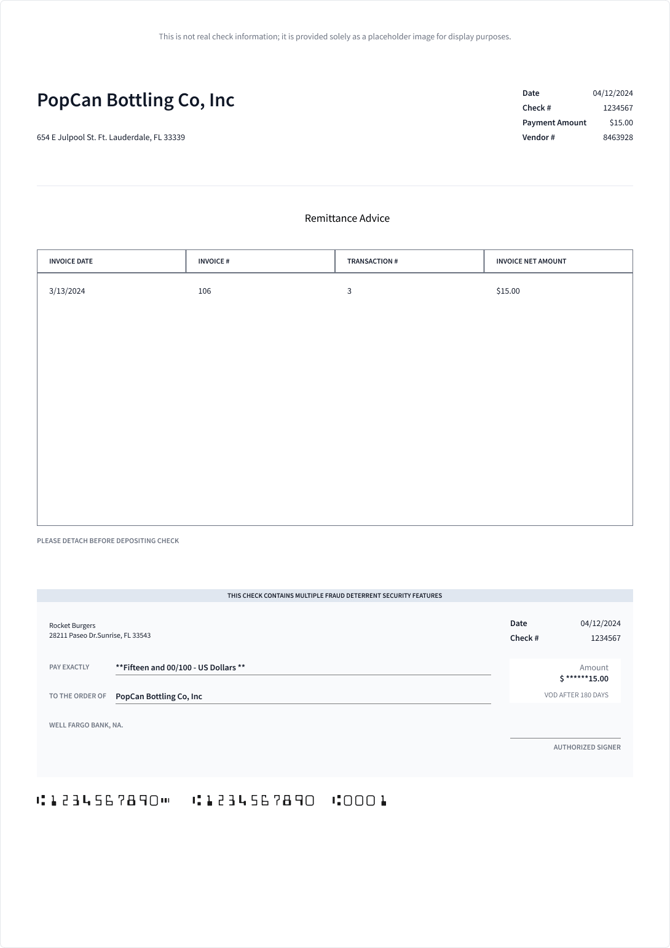
Your vendor will receive a check that includes the invoice date, invoice number and transaction number (see example below):
Outside of Fintech
For some invoices, clients may arrange for payment directly with a vendor.
Where to Set Up Payment Preferences per Vendor
You can set up your payment option in several ways:
- While approving an invoice in Invoices > Manage Invoices (learn more about invoice review and approval here: How do I make changes to a vendor invoice?)
- Select an invoice that has a Needs Review status. (Hint: Use the filter next to the search bar to narrow down your invoice list.)
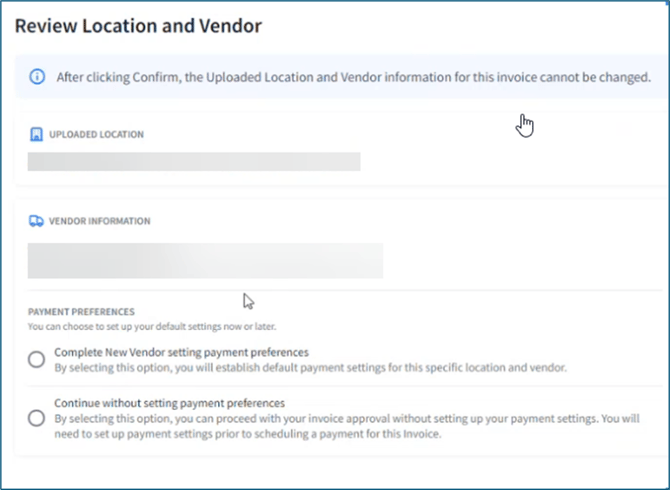
- On the Schedule Payment tab, you can choose to set up payment preferences. If you skip this step, you’ll be prompted again at another point in the process.
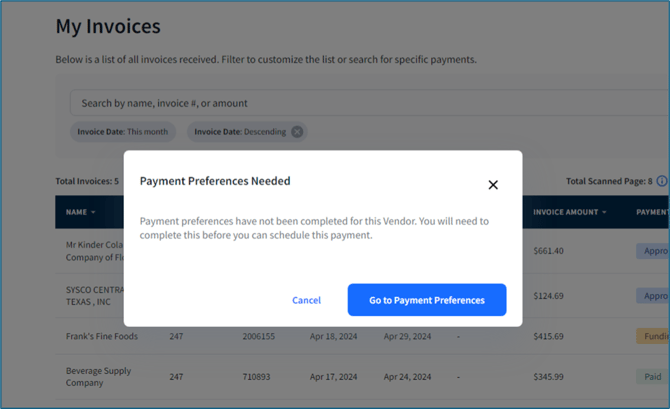
- My Invoices. Payment preferences will need to be set for invoices before scheduling payment.
- My Vendors. Update payment preferences and bank accounts (by location), vendor ID and other details. See Setting Payment Preferences per Location below. You have the option to use different payment types for each location:
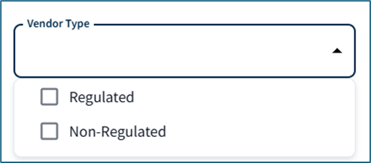
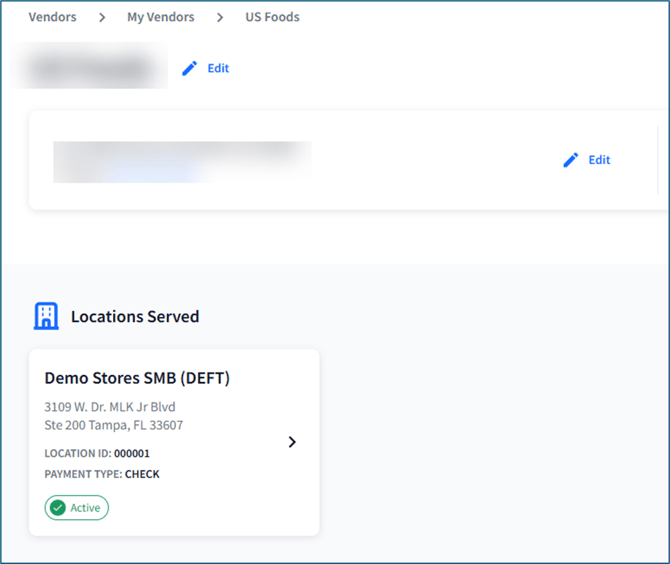
- Go to My Vendors and choose a vendor within Vendor List View. Easily find non-alcohol vendors by selecting the Non-Regulated Vendor Type:
- Select the location you'd like to adjust payment for:
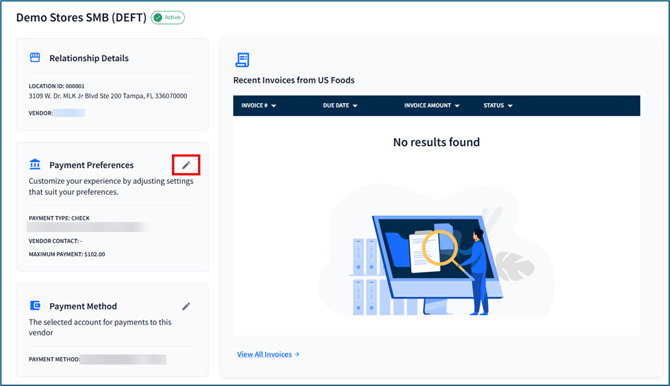
- Select the pencil icon in Payment Preferences:
- Select a different payment type or enter payment details:
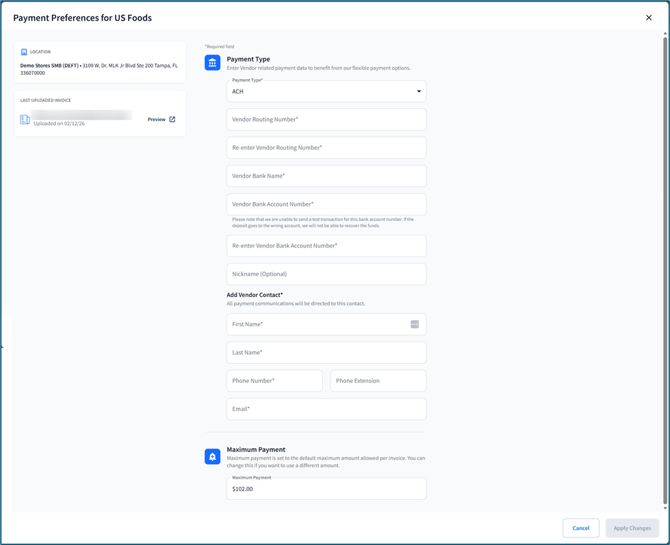
- Click Apply Changes once satisfied.
⚠️ Only Admin's and Super Admins can exceed the maximum payment amount when editing payment preferences (set in Settings > Payment Preferences). If they do, they’ll be prompted to update the global limit to match the amount entered on the vendor payment screen rather than having to update it under Settings.
- Go to My Vendors and choose a vendor within Vendor List View. Easily find non-alcohol vendors by selecting the Non-Regulated Vendor Type:
Setting Up Non-Regulated Payment Rules
Read more about setting up a maximum payment amount for non-regulated invoices in Settings here: Where do I set rules for my non-regulated payments?
Setting Up Payment Schedules
Learn how you can pay for your uploaded non-regulated invoices: Scheduling Payments at a Later Time or Scheduling Payments Immediately.